


After coming up with a plan, it was time to get to work on Project MJ. It was unseasonably warm in Massachusetts this past weekend, with temperatures nearing 60*F, so I took advantage of the warm temperatures to do a little ghetto bodywork that was needed to patch some holes. Bondo and spray paint work better when it’s warm, so it was time.
The driver’s door needs replacement due to rust, just like the original passenger door. Since we’re still quite busy with moving to the new garage house, we don’t have time to go prowling junkyards to find a Cherokee with a solid driver’s door to spare (the front doors of a 4-door Cherokee are the same as a Comanche). So I did the crappiest bondo job in the world to cover the rust and fill in the holes to pass inspection. After scraping the rusty areas to bare metal with a wire brush, I gobbed it onto the bottom of the door, as well as patching small holes in the front and rear fenders.

Before the entire internet screams at me, I know this is a terrible patch job. I skipped many important steps, like sanding and smoothing. I don’t care. My only purpose in doing this right now is to get the truck through inspection with no holes in the body, and this should do the trick. The only effort I made to make it look pretty is a coat of spray paint to cover the pink bondo, silver bare metal, and rusty rust areas to make everything one color and slightly less noticeable. We have every intention of replacing the door later, like on the passenger side, but right now our goal is to get the truck on the road, regardless of its appearance.
OK, that’s not entirely true. While I was at it, I covered up the multicolored grey (primer) and red (original color) areas to make it one consistent color. Well, except for the passenger door, since I didn’t feel like masking off areas to respray it properly just yet. In the spring there will be two replacement doors and front fenders to paint anyway, so we’ll just paint them all at the same time.
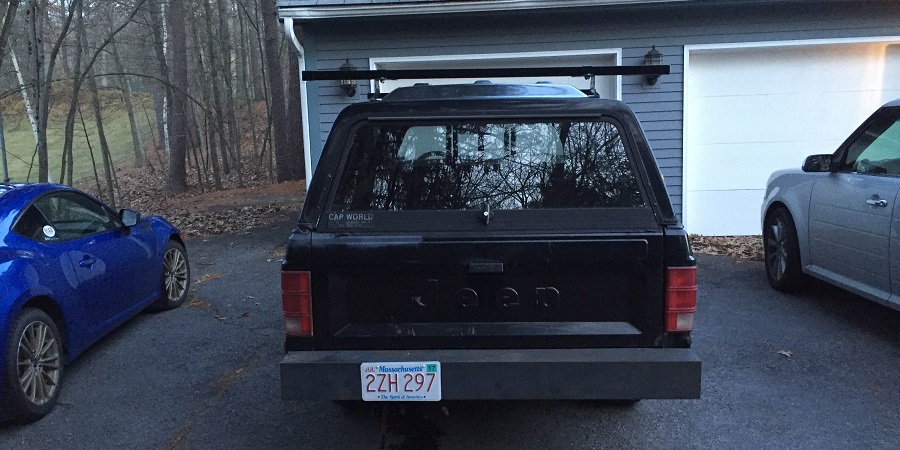
This particular truck has a custom made rear bumper. It looks much stronger than the original one. There was nowhere to mount the rear license plate, so I drilled a couple of holes and installed a mounting kit. Yes, it’s off center. Later on I intend to install a receiver hitch to the bumper, and will have to cut a hole in the middle for it, so I’m planning ahead. I also bought a license plate light, but since I’m in the middle of moving I didn’t have the right combination of screws and drill bits to attach it. I was also running out of daylight (and don’t have adequate lighting in the garage yet), so I didn’t get this done. I’ll pick up some bolts for this, then wire it into the existing license plate light wiring, and we’ll be lit and legal in the rear.
The front bumper needs to go on, and the tow hooks that bolt on with it – necessary for rally sweep duties. I’ll install the front license plate the same way as the rear. I need to finish bolting the bench seat back in. The bracket and bolts on the driver’s side aren’t all there due to the previous floorboard replacement, but I already have a plan for that. Bolting in the seat belts would be good too. I already have H4 headlights on the way to replace the crappy sealed beams, one of which is full of moisture. I like to see where I’m going at night. I just picked up bunch of stuff for an oil change and tune-up, which will hopefully make the 4.0 inline-6 run a bit better. And ultimately the leaky gas tank will need to be replaced, but I’m going to try patching it first to see if it will hold at least for a while. For a few bucks and a few minutes of work, there’s no reason not to try, even if it only holds for a short while.
It’s coming along. We knew this was a project when we signed up for it. But we’re up to the challenge.


1 comment
Comments are closed.